When performing a Cardiopulmonary Exercise Test (CPET), the most important thing is making sure that the results are reliable for them to be accurately interpreted later on. A mistake made during the test can dramatically affect the interpretation and therefore, the prognosis. For this reason, we wanted to highlight some of the most common mistakes we see people make and the problems they can cause when coming to interpret the data.
Mask Fitting
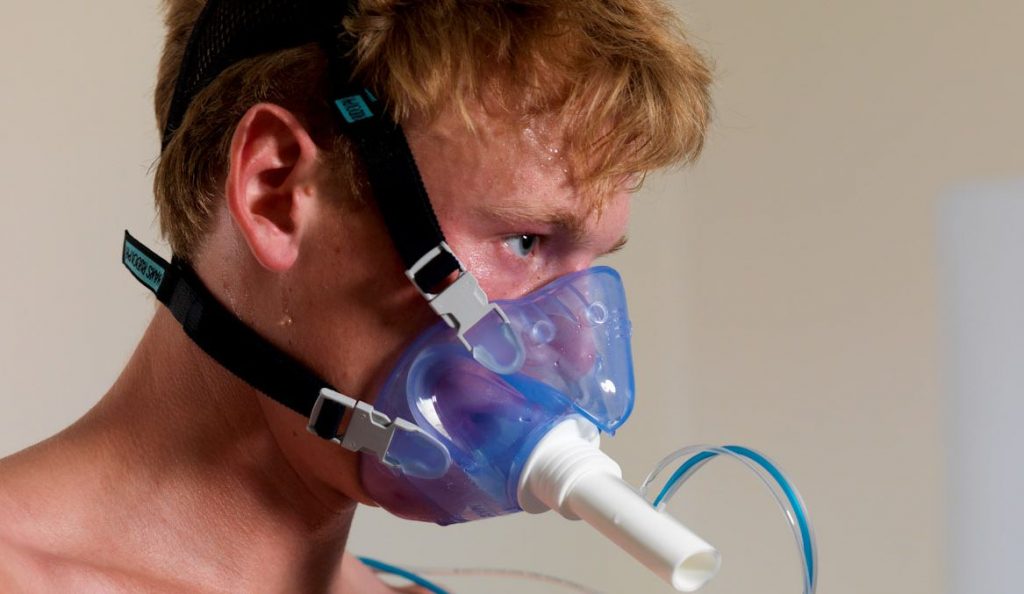
It is vital when performing a cardiopulmonary exercise test (CPET) test that there are no leaks in the breathing circuit. In general, machine leaks will be detected during the calibration and validation processes. However, a common cause of leaking can be the seal between the patient and the flow device.
For a long time, CPET testing was performed using a mouthpiece and nose clip. On the surface, this method provides a good seal and historically with the heavyweight of flow valves. Headgear was used to support the apparatus, so the mouthpiece worked, albeit giving a rather messy result at the end of the test due to the build-up of saliva.
More recently, the mask has become the favoured method of connection to the system. The patient is able to breathe through both the nose and mouth and can swallow. Therefore, much less saliva is built up, and there is less mess.
It is critical, however, to ensure that the mask is providing a leak-free seal around the patient’s nose and mouth. First ensure you pick the correct size of mask, test fit where necessary to make sure the fit looks good. After securing the mask with the correct headgear, you need to check for a leak. Simply occlude the breathing port at the front of the mask briefly and ask the subject to inhale, making sure pressure isn’t applied to the mask. It should be sucked onto the patient’s face if no leaks are present. Reverse the process asking the subject to exhale, at which point there should be an overpressure leak once the mask is filled.
A mask leak during the test is one of the biggest problems for interpretation. It’s therefore essential to check the VO2 and VCO2 values before and during the test. The Love Medical CPET system uses the Blue Cherry software, which allows a period just before commencing the test where data can be seen to check for leaks or hyperventilation. This data is deleted as the test is started to prevent these issues from causing a problem during interpretation. Check with your CPET system provider to see if this feature is available on your software.
This short test, prior to performing the main test, will prevent wasted results and test time later.
Exercise Protocol
Choosing the exercise protocol can be a difficult concept when first starting to perform a cardiopulmonary exercise test (CPET) test. How many watts per minute for the ramp seems like an arbitrary calculation, is the person fitter than expected? Do they have a more sedentary lifestyle?
There is a recognised equation for calculating the work rate increment, commonly known as the Wasserman equation from the book Principles of Exercise Testing and Interpretation.
The Wasserman equation:
1. Determine the expected VO2 max for the patient in ml.min-1
2. Calculate and subtract the unloaded oxygen requirement:
VO2unloaded = (5.8 x BW) + 151
3. Where VO2 is expressed in ml.min-1 and BW is body weight in Kg
4. Divide the remainder by 103. This divisor represents the product of the expected oxygen cost of leg cycling (10.3 ml.min-1.W-1) and the optimal test duration (10 min).
5. The resulting quotient represents the desired work rate increment per minute:
Work rate = (Predicted VO2max – VO2unloaded)/103
If you find this too difficult to calculate, there is a possible shortcut. Many systems will calculate the maximum workload for a given patient data. The Love Medical ECG system, for example, has a choice of several equations to calculate this max load. Simply take this max load value and divide by 10, giving you an approximation of the required workload ramp.
A CPET test should last between 8 and 12 minutes. Should the patient not be quite fit enough for the ramp, they should still be able to reach 8 minutes. If the calculation has underestimated their fitness level, then the test should still be finished within 12 minutes. In either case, they both fall within the test time recommendations.
Cables and tubes
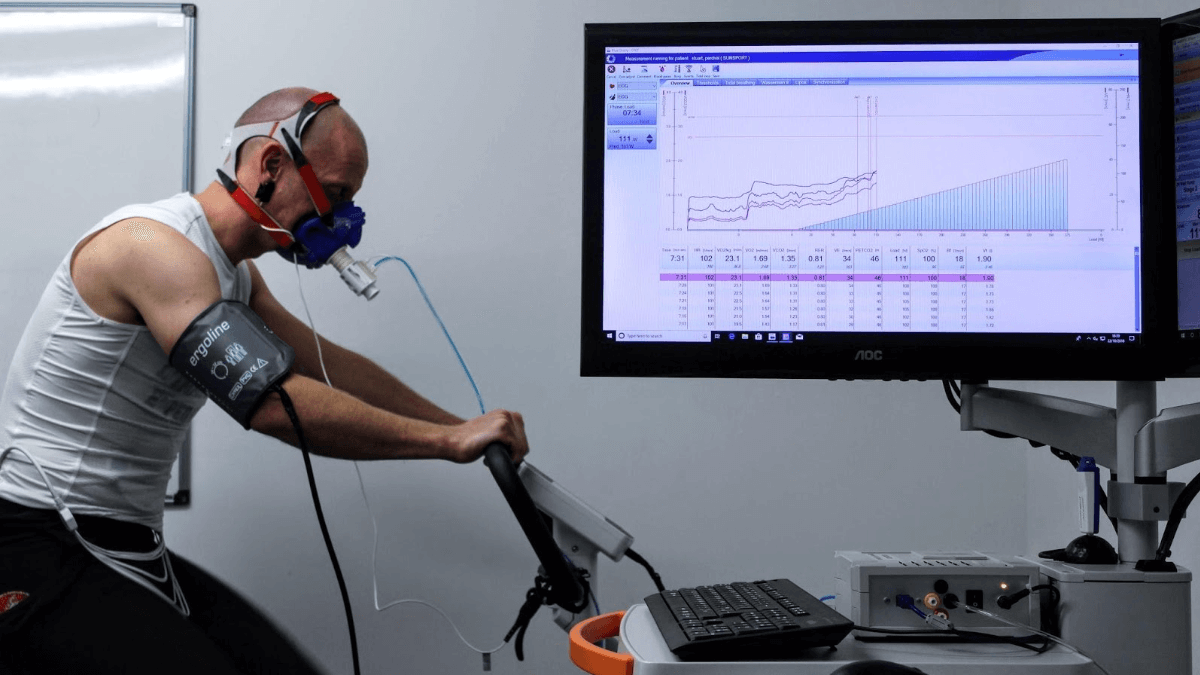
Poor management of cables and tubes during an exercise test causes mistakes, not least damage to the device or injury to the patient. To a trained eye, these problems are easy to prevent. In fact, to the layperson, cable routing can often look precarious. It’s all too easy for newcomers to cardiopulmonary exercise test (CPET) testing to miss problems, having so much to think about while setting up the test.
Always ensure flow tubes and ECG cables are routed up and away from the cycle pedals, as getting a tube caught at 60 RPM will likely cause damage. Ensure cables are routed to allow the patient to dismount without becoming tangled, again it’s easy to damage a cable with a patient desperate to get off the bike.
When routing the sample tube, in particular, the gas sample tube, ensure it comes up from the flow sensor. This will reduce the risk of moisture ingress from saliva during the test. It’s often easy to secure the sample tube using the headgear from the mask.
Always ensure connecting cables such as power leads and ergometer control leads are routed to avoid trailing across the floor. This reduces trip hazards and prevents injury or damage.
Finally, it is a good idea to remove as many cables as possible. Newer systems are designed to make use of things such as Bluetooth control for ergometers, pulse oximeters, and even ECG. This means no wires are crossing the field of the test. The Love Medical System now makes use of Bluetooth technology. This leaves only the flow tube and the gas sample line. It can be secured in the patient’s headgear, so it’s up high and away from danger for the period of the test.
Blood Pressure cuff
Fitting the blood pressure cuff should be a simple procedure. However, like so many of the operations surrounding the cardiopulmonary exercise test (CPET), it is complicated due to the number of tasks involved in preparing a subject for testing.
Some people still choose to perform a manual blood pressure using a sphygmomanometer and a stethoscope, but as technology moves forward, it is becoming increasingly popular to automate the process. This allows better focus on the patient by the tester rather than a rush to collect BP results.
When using an automatic Blood Pressure device, it’s important to ensure that the BP cuff is the correct size. If it’s too small, you can hurt the patient, too big, and you may not get any values from the BP machine. Once this is done, ensure that the microphone covers the brachial artery as the cuff is positioned on the arm. This will ensure the correct signal required by the device. Take a little time over this step to ensure it’s working well; it’s much harder to correct during the test.
Perform a test measurement at rest and ensure the results are what is expected, and the system should be ready to test.
Saddle height
Setting the saddle height of the ergometer is simple enough, as lots of ergometers have a manual adjustment. This consists of adjusting the saddle height without the subject in position and then getting the subject onto the ergometer to check it. When pedalling, the subject’s leg on the downstroke of the pedal should not be fully extended. This should provide optimum comfort during the test.
However, manual adjustments mean that there’s room for human error. If the initial adjustment attempt is not correct, the subject has to stand on the pedals before the test to make the final adjustments. This can be both uncomfortable and dangerous for the subject.
Many systems now employ a fully electronic saddle height adjustment, allowing the saddle height to be fully adjusted with the subject sat in place. This method also gives a value to the actual height, making it much easier to reset to the correct height for any future test. Furthermore, the electronic adjustment on the Love Medical Ergometers allows the saddle to be adjusted with the patient in situ, making the whole operation much safer.
Let us know if you agree with our list or if you think there’s something we missed!
Want to learn more?
We run a number of CPET Interpretation training courses each year which suit all levels and areas of speciality. If you are keen to learn more about performing and interpreting CPET, why not drop us an email to education@lovemedical.com to find out when our next course is.

